This article walks through the steps to authorize the ChiroHosting app to enable Automated Chiropractic Social Media posting to your Facebook Business Page.
In order to complete this task, you will need to have the following:
- Active subscription for Automated Chiropractic Social Media
- Login credentials for your ChiroHosting account
- Login credentials for your Facebook account that is assigned a Page role for your Business Page
Log In to Your Client Account
- Log in to your ChiroHosting client account
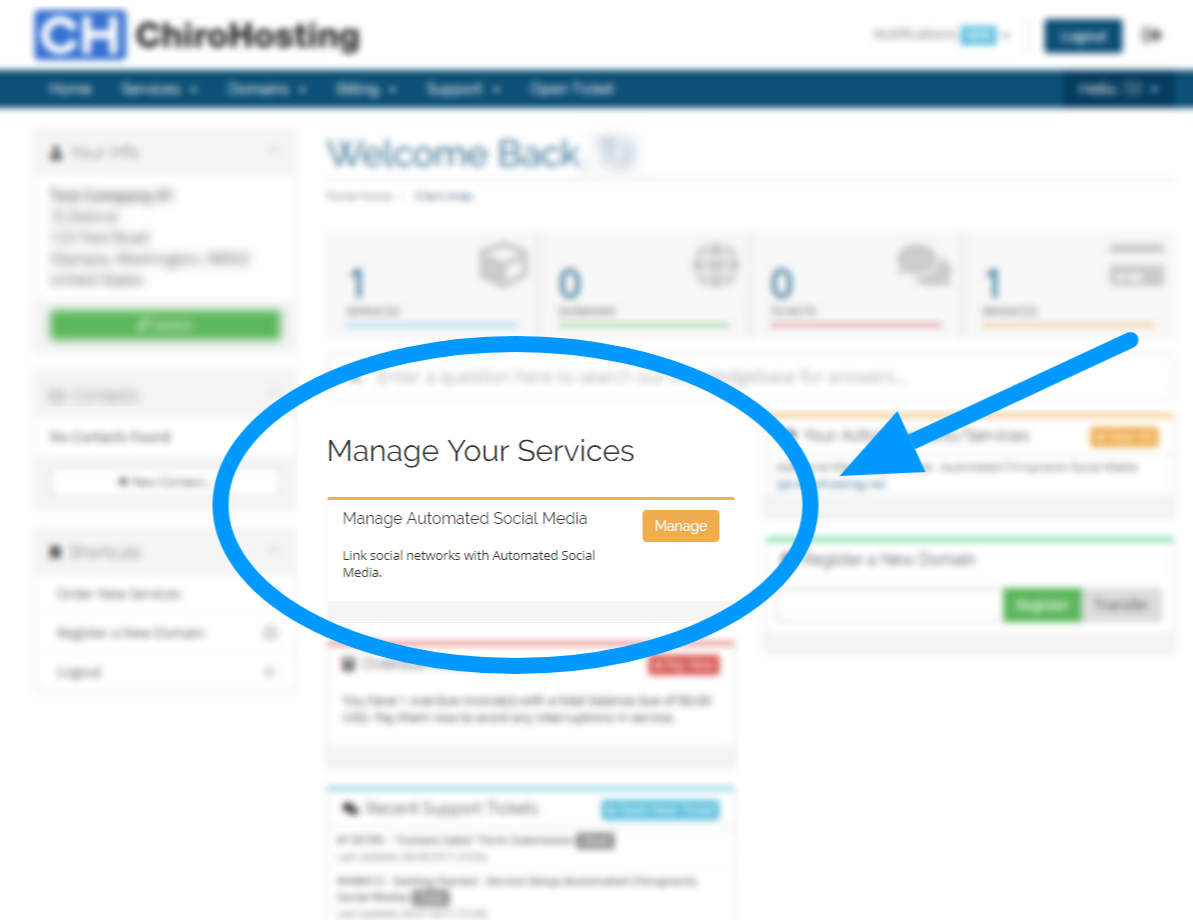
- From your client area Dashboard, locate Manage Automated Social Media
- Click the Manage button
Sign in With Facebook
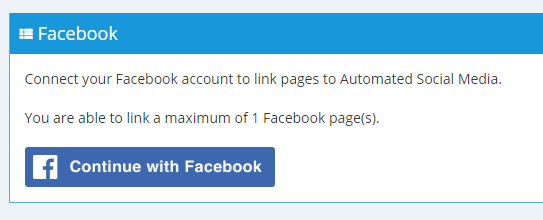
- From the Manage your Automated Social Media page, locate the Facebook section
- Click the Continue with Facebook button
Authorize App
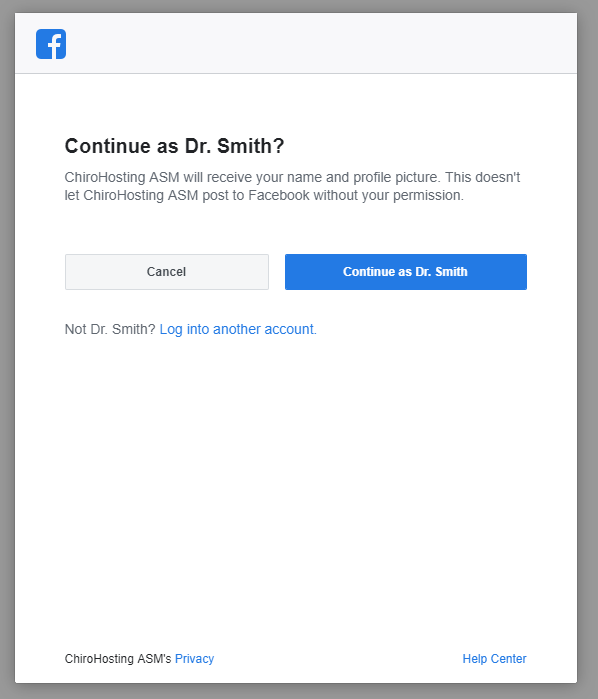
- You will be redirected to Facebook to log in and authorize the ChiroHosting ASM app.
- Enter your Facebook Username or email and Password
- Click Continue as ... button
- Follow Facebook's prompts to accept requested permission
Link and Configure Your Facebook Feed
Link Facebook Page
- You will be redirected back to your ChiroHosting Client Area > Manage your Automated Social Media
- Click the Link button
Configure Feed
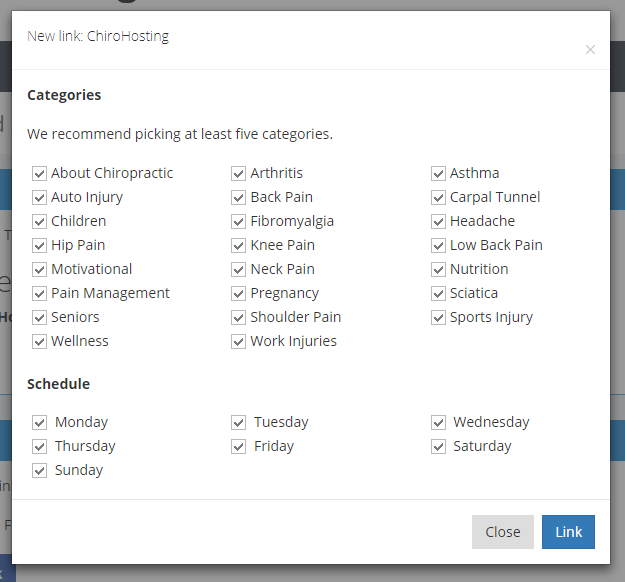
- A modal will open for you to configure your new link's categories and posting schedule.
- Categories: Select checkboxes of post categories that you want to share
- Schedule: Select checkboxes of days on which you want to share posts
Checkboxes: ☑ is enabled; ☐ is disabled
FINISHED: Facebook Page Linked
You have successfully linked your Facebook Page and Automated Social Media service.
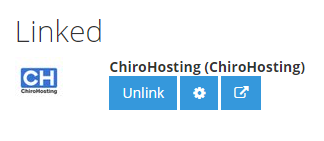
Managing Your Linked Facebook Page and Feed
- Disconnect your Facebook Page from your Automated Social Media service by clicking the "Unlink" button.
- Manage your Categories and Schedule settings by clicking on the gear icon.
- Visit your Facebook page by clicking the open in new window icon.

